
Your agents.
A workspace of your own.
Run your agents in a self-contained workspace on your laptop. Your workspace data stays on your machine, and you choose which models and tools your agents can call.
A place for your agents to work.
Keep what makes
your agent yours.
Connect your agent through AG-UI and keep its prompts, tools, and orchestration. OpenBot’s modular architecture lets you swap the sandbox that runs its code independently of the agent itself.
How AG-UI fitsBring your own agent
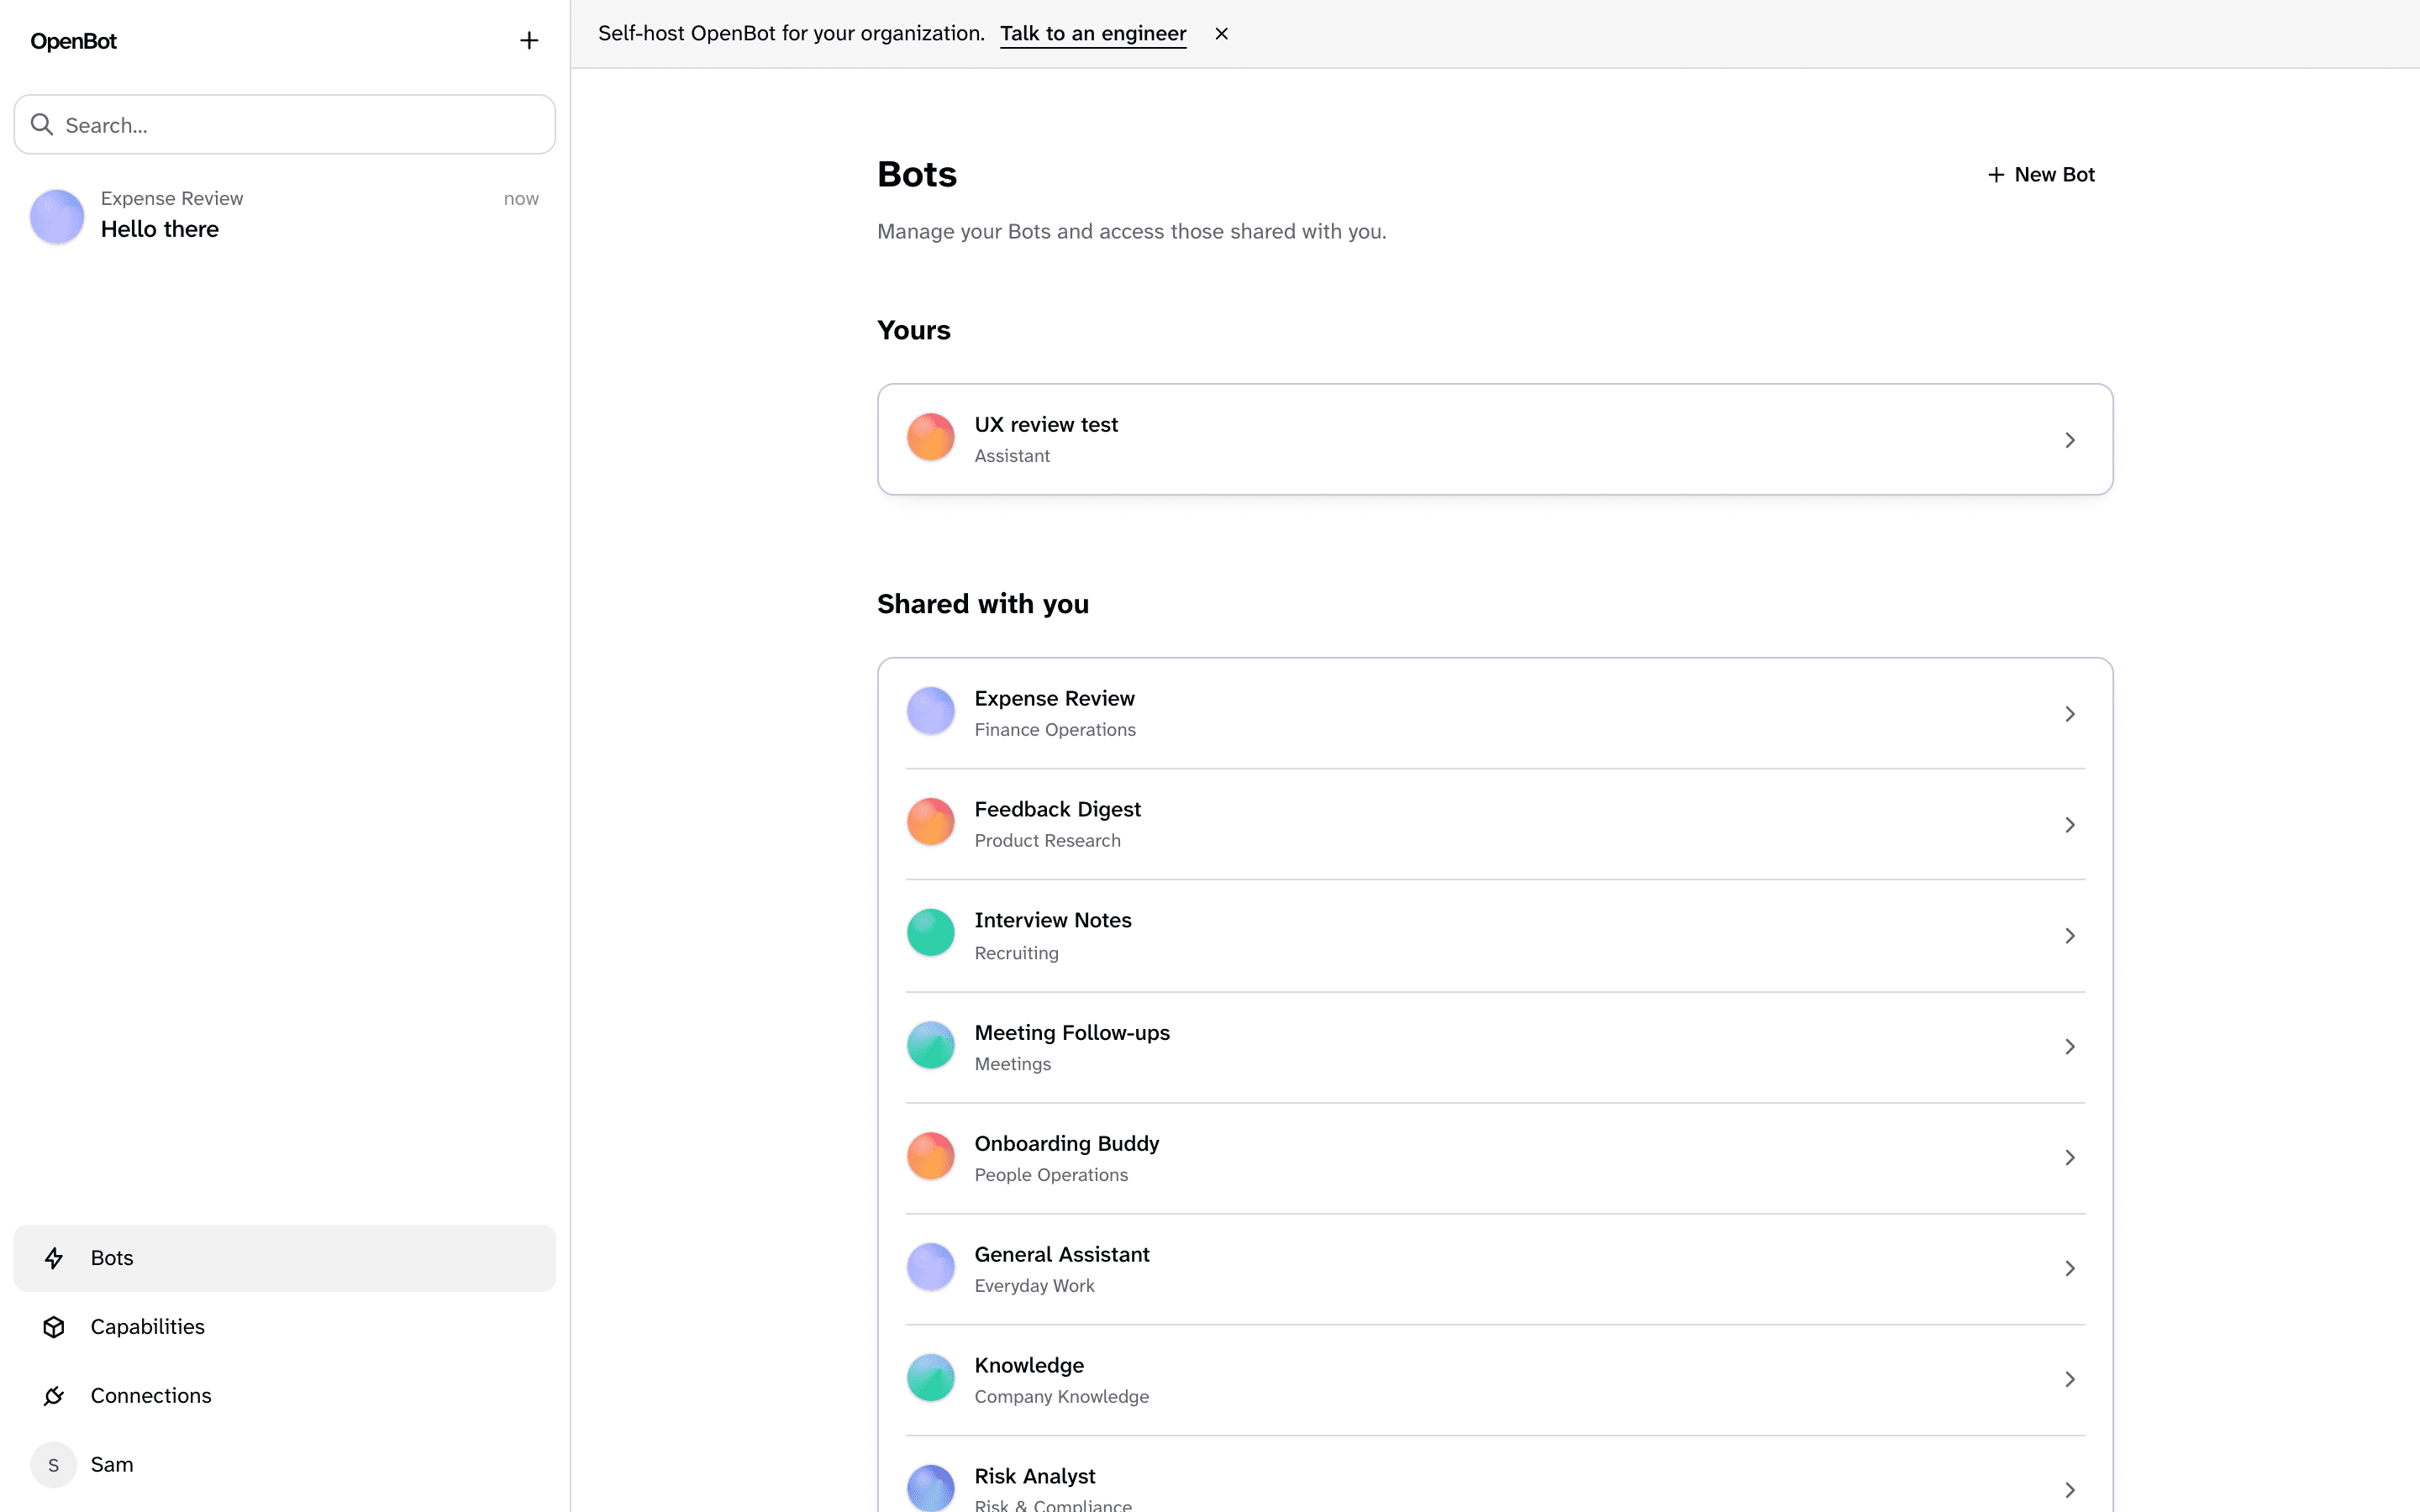
Run your agent at an AG-UI endpoint OpenBot can reach. In Bots → New Bot, choose “Connect a custom agent” and enter its connection details. Try a small task to check its responses and tool activity.
Make the workspace fit
Change the open-source application at the code level, from the user experience to the components that run your agents.
Choose how you work
Use your preferred model providers and connect the tools your agent needs.
Bring your agents.
Keep your stack.
OpenBot is a composable workspace for your agents, models, and tools. Its modular design lets you switch model providers or connect a new tool while keeping the agents and infrastructure you already use.
Keep the agent you built.
Connect Claude Agent SDK, LangGraph, Google ADK, or another AG-UI-compatible agent. Your prompts and tools come with it.
Connect your agentChoose the model for the work.
Use OpenAI, Claude, or Gemini with your own API keys. Keep the provider relationships you already have.
 OpenAI
 Claude
 Gemini
Work with your Bots.
Wherever work happens.
Start on your laptop, connect your team’s messaging tools, or request early access to web and mobile.
Your Bots, tools, and conversations in one workspace on your Mac or Windows laptop.
Your workspace.
Your way in.
Download the desktop app or let your coding agent handle setup.
Start with the desktop app.
Your Bots, tools, and conversations, right on your desktop.
Let your coding agent set it up.
Copy the prompt into Claude Code, Codex, or your preferred coding agent.
Help me run OpenBot locally with its supporting services in Docker.
Read https://github.com/CopilotKit/OpenBot/blob/main/prompt.txt and https://docs.copilotkit.ai/intelligence/self-hosting-local first. Use the local source setup, not the managed service.
Check my prerequisites and Docker resources. Clone https://github.com/CopilotKit/OpenBot.git into a new folder, or use my existing checkout without overwriting keys or data. Follow its current instructions to prepare the app.
From the OpenBot folder, run npx copilotkit@latest login, then npx copilotkit@latest local setup. If the CLI requires sign-in or terms acceptance, give me the exact step to complete myself, then resume. Review the connection changes and run npx copilotkit@latest local connect --approve-connection.
Help me enter my model API key locally, without pasting it into chat. Follow the repository instructions to start OpenBot, verify it is healthy, and open it in my browser. Finish with the exact commands to stop and restart both OpenBot and the local stack.
What you need for local setup
The supported local preview runs on macOS with Docker Desktop. Allocate at least 4 CPUs, 12 GiB of RAM and 40 GiB of free storage to Docker. You’ll also need Node.js 22 or newer, Git, Bun at the version pinned by OpenBot, and a CopilotKit account. Your agent can check these before starting.
Your coding agent sets up the supporting services, then connects and starts the OpenBot app using the repository’s instructions.
Stop and restart your workspace
Run these from your OpenBot folder. Stopping preserves your saved data.
Stop
bash scripts/stop.sh
npx copilotkit@latest local stopRestart
npx copilotkit@latest local start
bash scripts/start.shSetting up for your company? Explore business deployment. See plans and pricing.
Bring your agents
to the whole team.
Bring it into a shared company workspace with OpenBot for Business™. Self-host in your organization’s infrastructure and work with our engineers on the rollout.
Explore OpenBot for Business